
Rewards
Offer additional bonus content to your collectors or gather information from the collectors to be used as you see fit.

Overview
Rewards give brands the capability to offer additional bonuses to their collectors while also giving brands the option to create a custom form for the collectors to fill out.
How it Works
When you create Rewards, collectors will see a special icon indicating rewards are available for the listing. This icon can be seen both in their owned listings as well as on the marketplace page. Setting up a reward requires the following steps:
- The CMS Admin enables Rewards.
- Rewards are then set up inside the CMS.
- The listing(s) selected for the reward will automatically gain a special icon on them, indicating to the collector a reward is available for the listing(s).
- The collector purchases a listing that includes a reward.
- The collector redeems the reward.
Setting up the Reward
Step 1: Enter Reward Details
- Go to Utility > Rewards and click Create New.
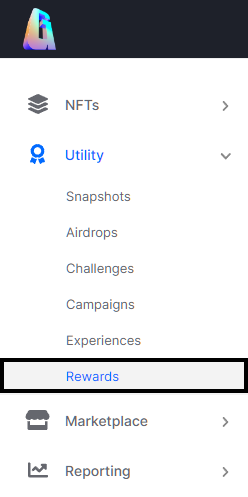
The Rewards Utility Location in the CMS
- Complete the Name and Description fields.
- Click or Drag to Add image to upload a supported file type from your computer in the image box. This should be representative of the reward the collector will receive.
- Complete the date fields based on your desired frequency.
- Frequency
- This reward is available on a single day
- This reward is available across multiple days
Start: The first day the Reward can be claimed
End: The last day the Reward can be claimed - This reward is available always
- Frequency
Note:
All dates default to midnight of the following day, and the time is localized to your timezone based on your browser’s settings.
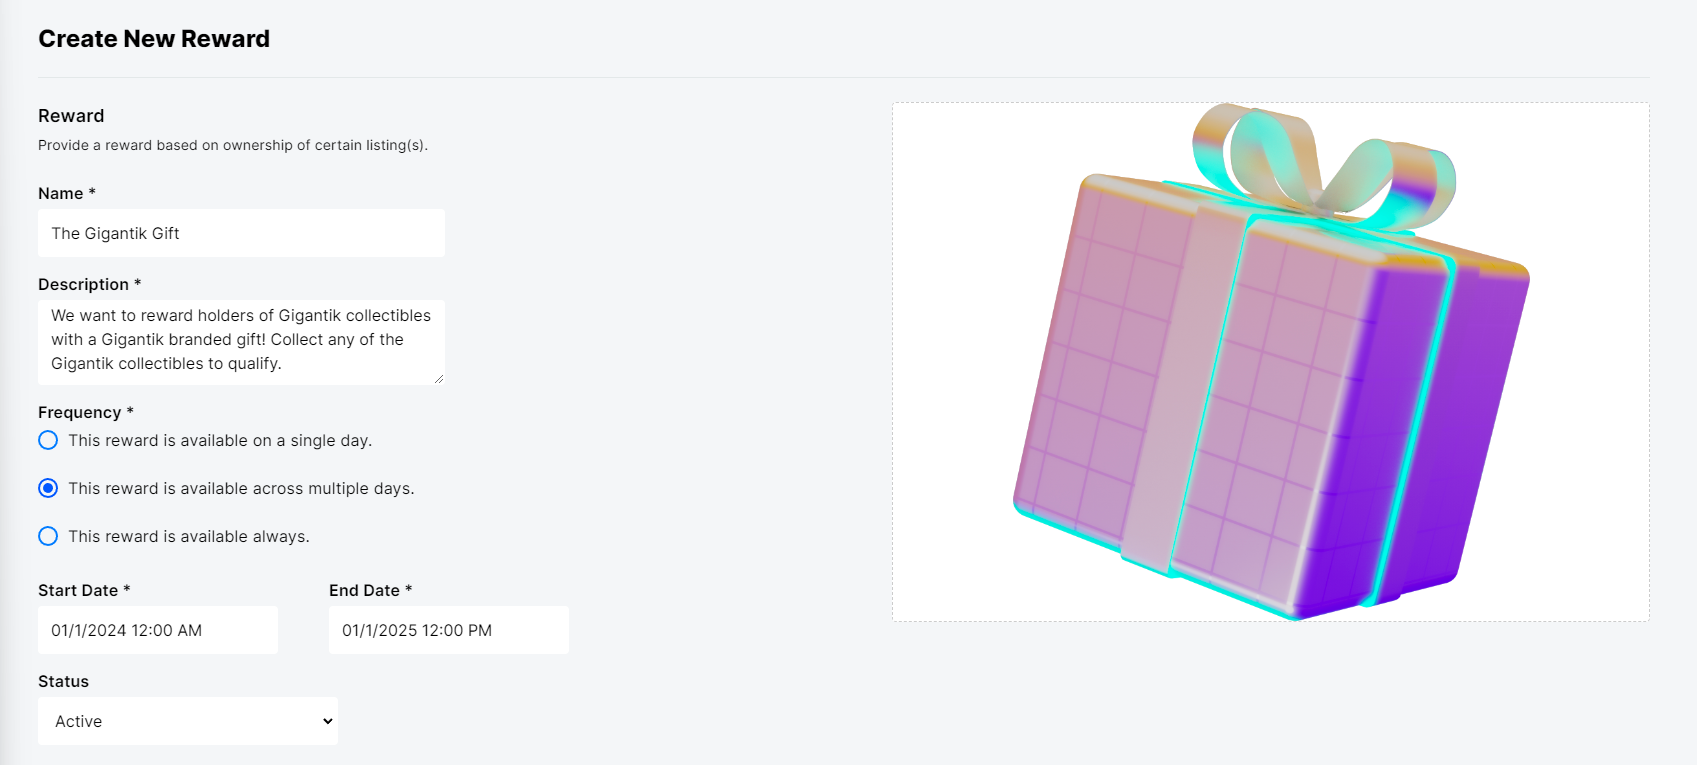
An Example Reward
Step 2: Select your Reward Type
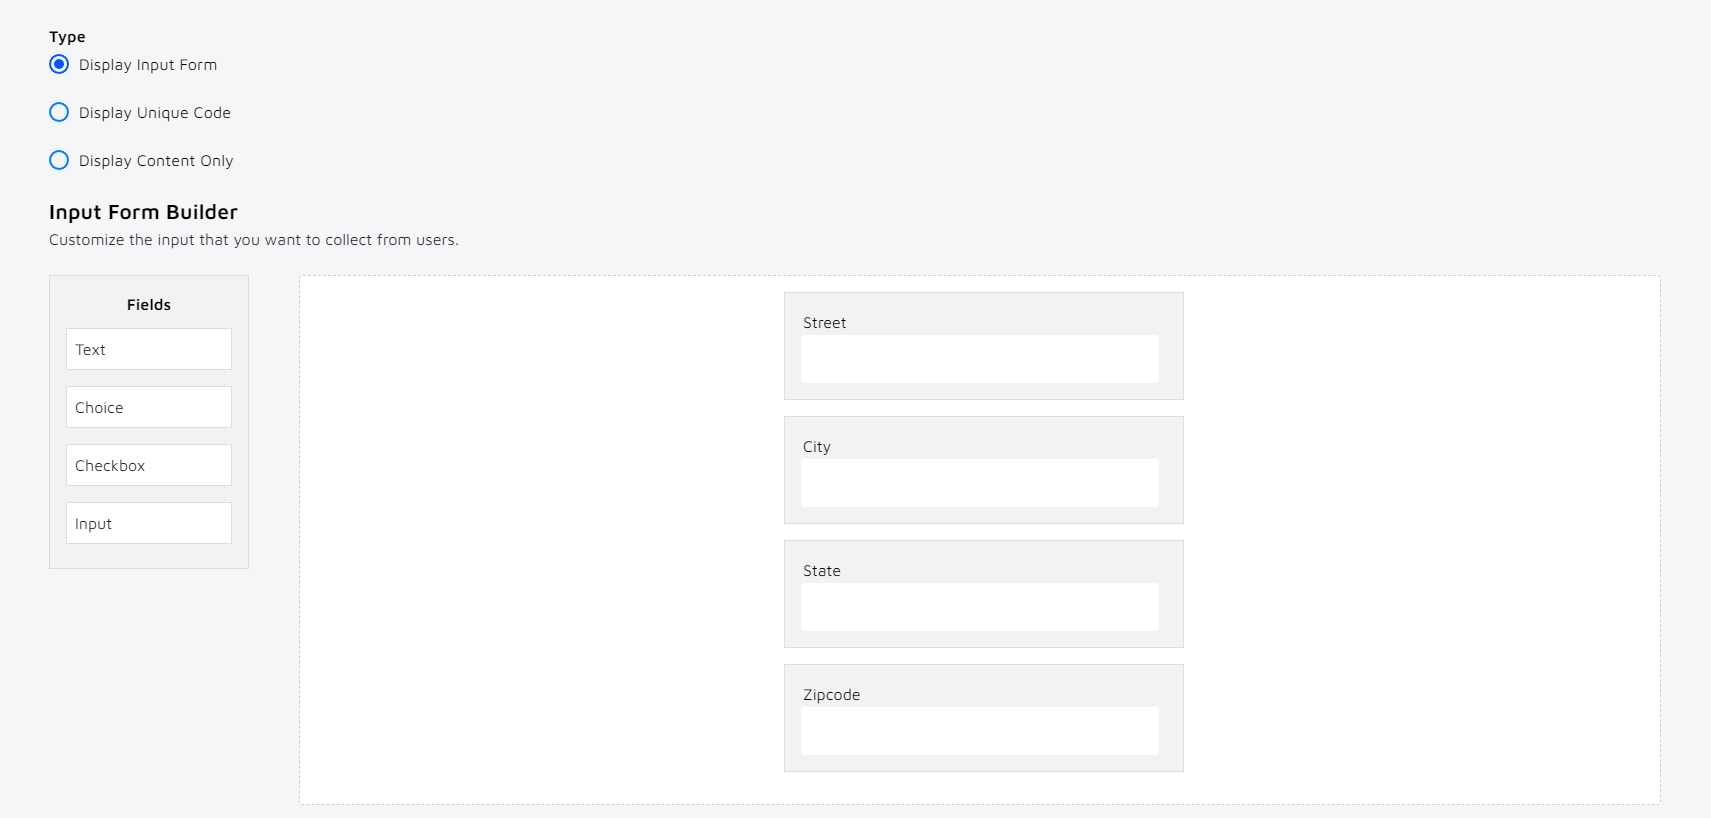
An example Input form
-
Select one of the following Reward Types:
-
Display Input Form
- The input form can be used to create a custom form to obtain exactly the data you need from the collector. The following field types can be used:
- Text - Can be used to display instructions or set titles for a section
- Multiple Choice - Can be used to display multiple items for collectors to select
- Checkbox - Can be used to have collectors opt into a sweepstakes or other event
- Input - Can be used to request specific information from the collectors
Helpful Hint
Select the fields to add them to your form builder. Once they're in the form, you can click inside the boxes to edit the content further. If unusual/unique information needs to be captured, create input fields for each field
- The input form can be used to create a custom form to obtain exactly the data you need from the collector. The following field types can be used:
-
Display Unique Code
- Brands can provide a unique code per token that the collector can redeem once the token is purchased. This code can only be claimed once and is a text-only field. No headers should be used with the CSV upload. (e.g. Gift Card codes, discount codes, etc)
-
Display Content Only
- This is a text-only field.
-
Step 3: Select Required NFTs
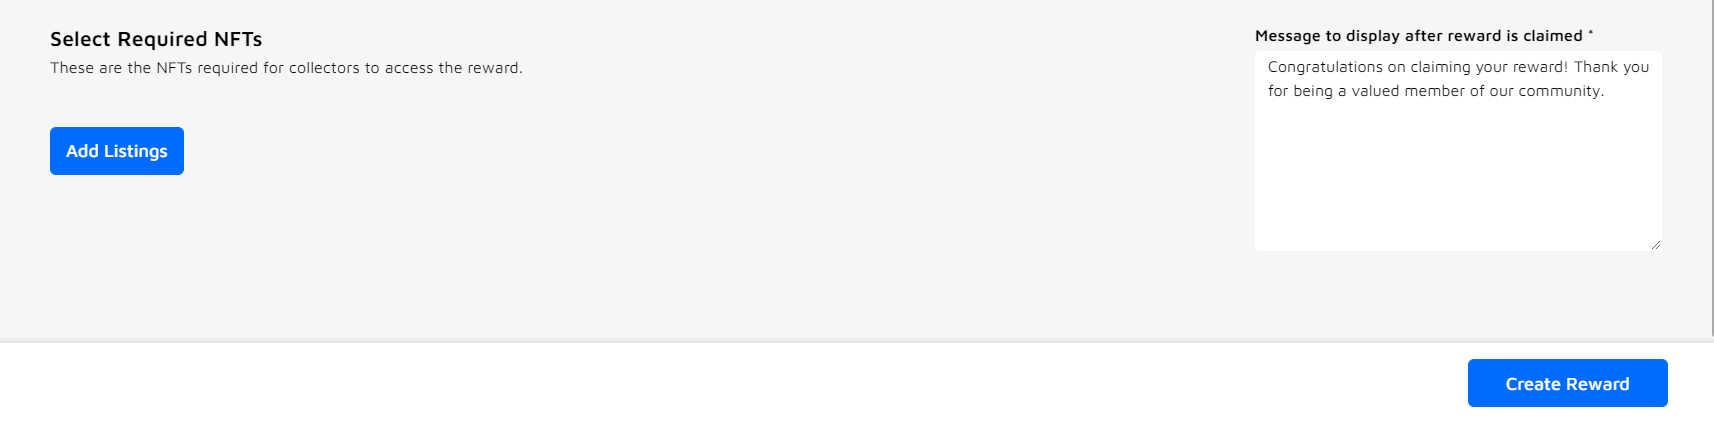
-
Once the reward type has been selected, choose the listing(s) that will receive the reward when purchased.
-
Additionally, the message the collector will receive when redeeming the reward can be customized in the box on the right.
Updated 10 months ago