
Microsoft
Add Microsoft OpenID Connect for your marketplace
Overview
This article provides step-by-step instructions on configuring Azure Active Directory (Azure AD) with your Gigantik marketplace. OIDC authentication allows collectors to securely authenticate and access your Gigantik Marketplace using their existing Microsoft accounts.
Prerequisites
- An active Microsoft Azure account with access to the Azure portal
- Access to the Gigantik CMS
Accessing the Azure Portal
- Open your web browser and navigate to the Azure portal
- Sign in to the Azure portal using your Azure account credentials.
- Once logged in, navigate to Azure Active Directory using the sidebar menu.
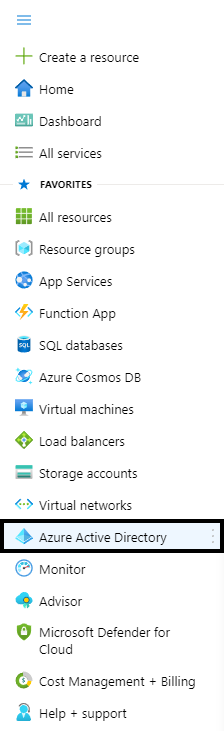
Azure Active Directory in Azure Portal
Registering an Application in Azure AD
- In the Azure Active Directory menu, click on App registrations.
- Click the New registration button to create a new application registration.
- Provide a name for your application and select the supported account types.
- For the Redirect URI, select Web and enter your marketplace URL with a trailing slash. For example, enter "https://example.shops.gigantik.io/"
- Click Register to create the application registration.
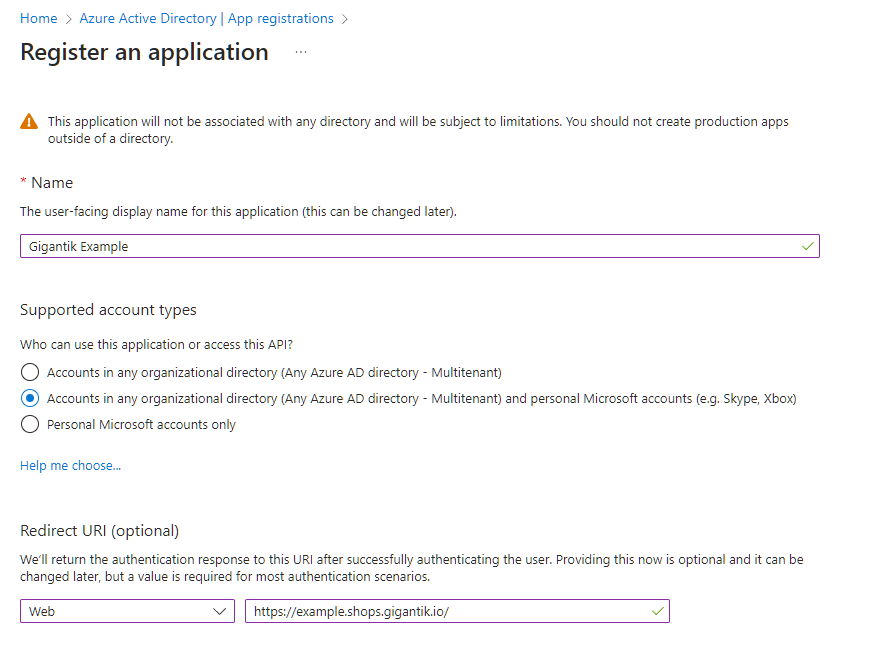
An Example Application in Azure
This process may change based on decisions at Microsoft. Please see the official documentation:
https://learn.microsoft.com/en-us/azure/active-directory/develop/quickstart-register-app
Configuring Authentication in Azure AD
- On the left navigation bar, click on Authentication under the Manage section.
- Under Implicit Grants and Hybrid Flows, check the box for ID tokens.
- Click Save to save the authentication configuration.
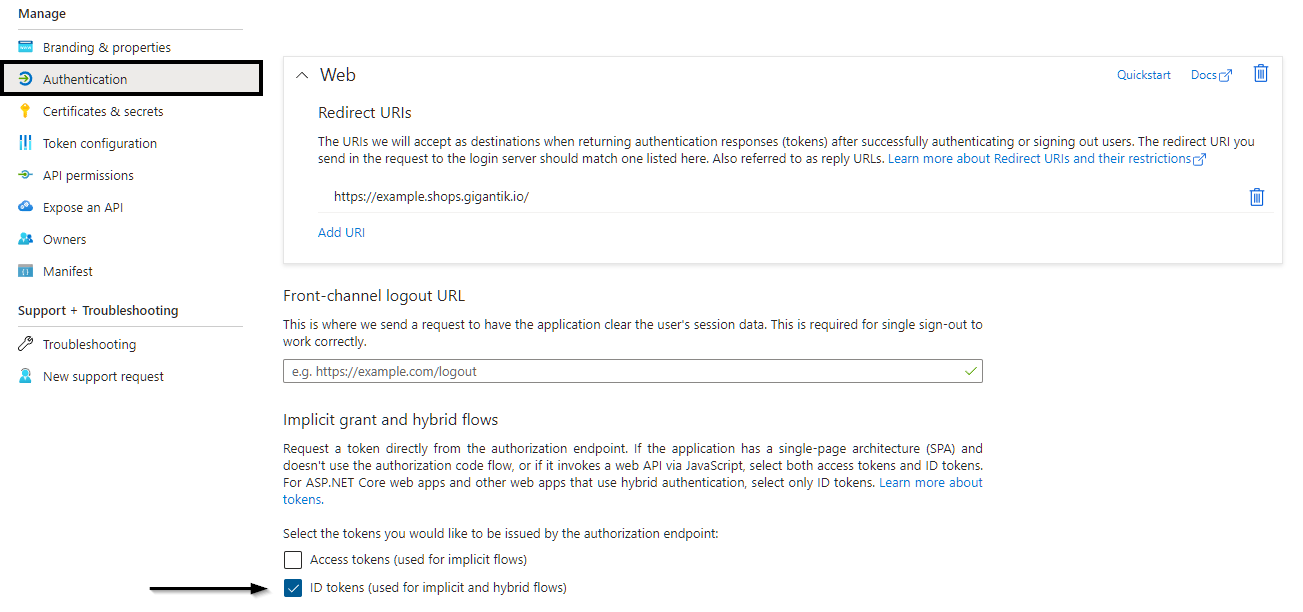
Authenication Configuration in Azure
Configuring the OIDC Provider in the Gigantik CMS
- Log in to the Gigantik CMS
- Navigate to Marketplace > OpenID Connect
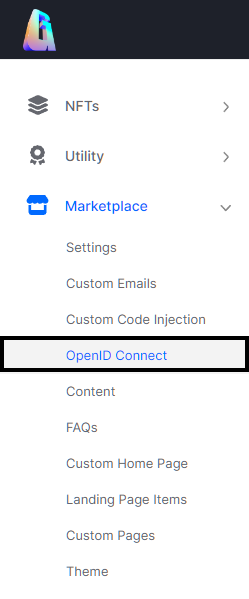
The OpenID Connect Integration in the CMS
- At the top right of the Open ID Connect screen, click the Add OpenID Connect Provider button
- Provide a name for the OIDC provider (e.g. "Microsoft").
- In the Discovery Endpoint field, enter "https://login.microsoftonline.com/consumers/v2.0/.well-known/openid-configuration"
- In the Client Id field, enter the client ID found under your App Registration in the Azure portal.
- Optionally, you may provide a button image for the OIDC Provider to enhance the user interface.
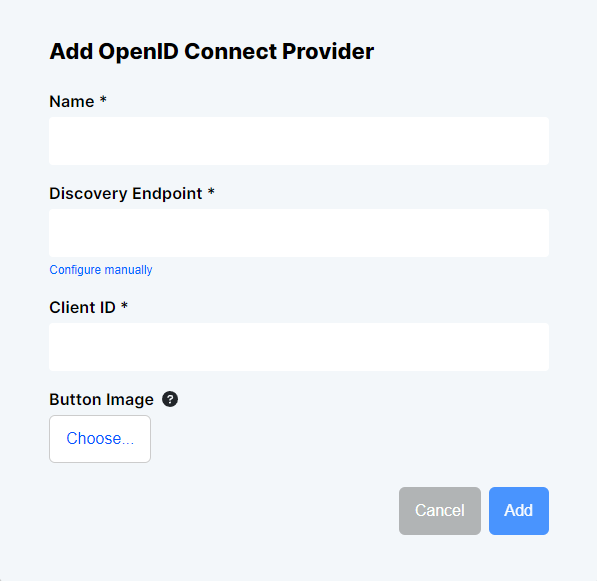
OpenID Setup in the CMS
- Save the configuration settings.
Conclusion
By following the steps outlined in this article, you should now have successfully set up OIDC authentication for your Gigantik Marketplace using Microsoft as the identity provider. With this setup, collectors can now authenticate securely and access your Gigantik marketplace using their Microsoft credentials.
For further information about advanced configuration options, refer to the official Microsoft documentation.
Updated over 1 year ago