Content
Add promotional content to your site such as banners, hero images, featured listings, and more.
Content feature availability depends on your current subscription tier.
Overview
The Content settings allow you to add a number of promotional items to your site. This is helpful for increasing traffic and attracting new users.
Banners

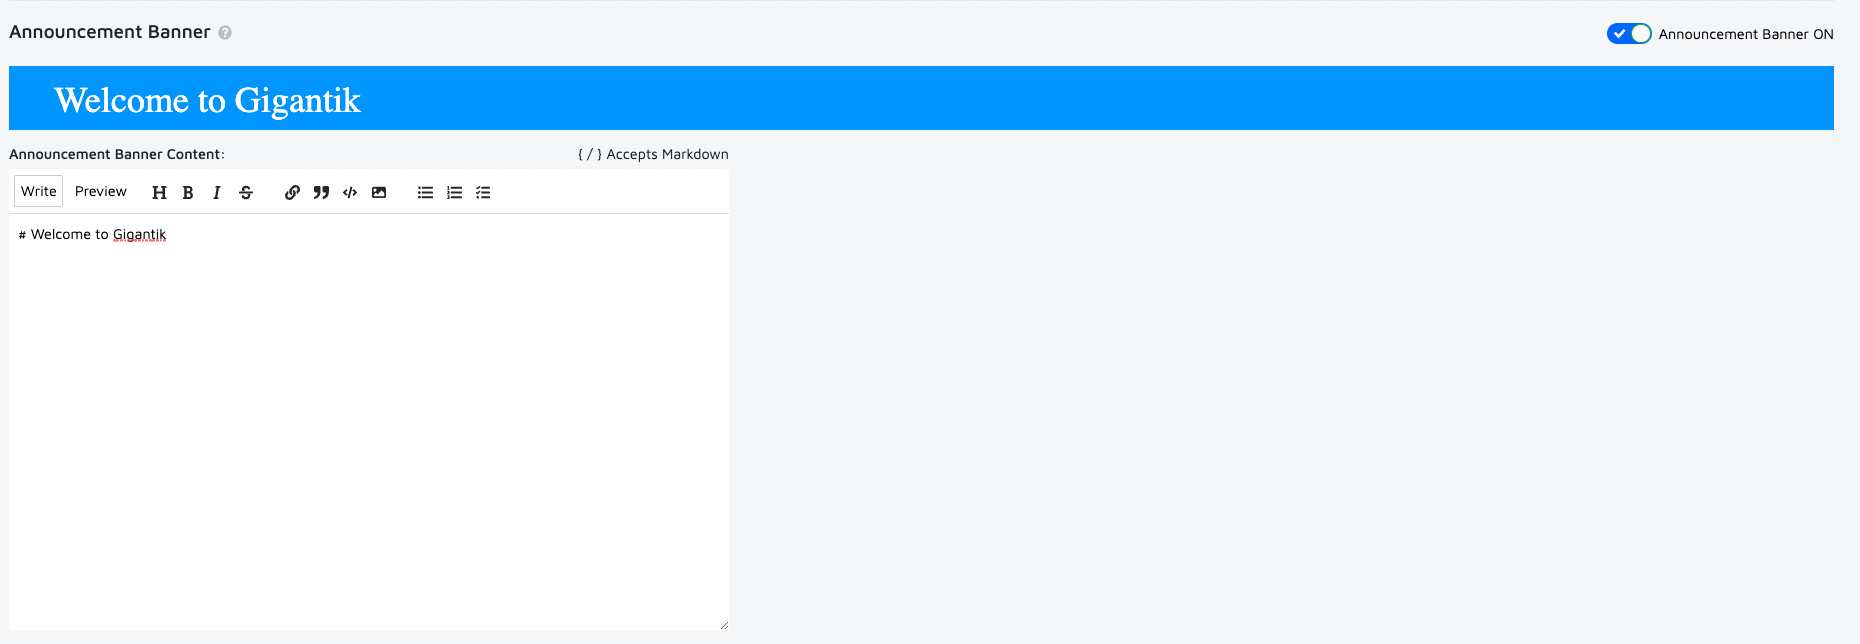
CMS admins can add a custom banner to your site to inform their collectors about important information. For example, the banner can be used to let users know about an upcoming campaign, new drops, or for a planned outage (such as a platform upgrade). The banner appears at the top of your site pages and it's possible to have multiple banners saved for easy swapping depending on the messaging you're wanting to convey
Maintenance Banners
By leveraging the Maintenance banner, administrators can proactively notify users about scheduled maintenance activities, ensuring a smooth and transparent user experience. This helps foster a sense of trust and reliability among collectors, as they are well-informed about any temporary disruptions or changes that may occur during the maintenance period.
Add a Banner
- Go to Marketplace > Content.
- Click Selected Banner and then select from one of the banner types. This field accepts common markdown.
- Enter the banner text in the Banner Content field.
- Click Save.
Hero Images

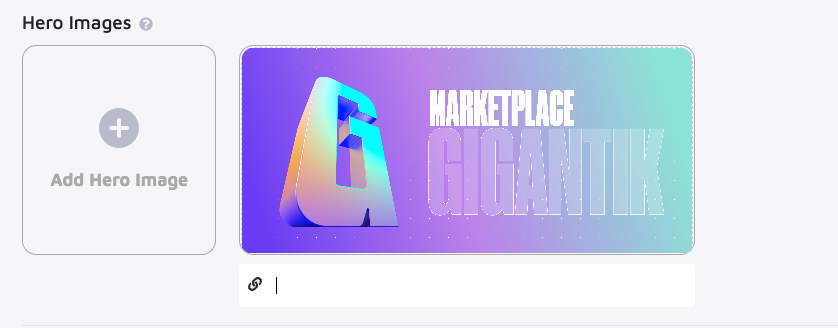
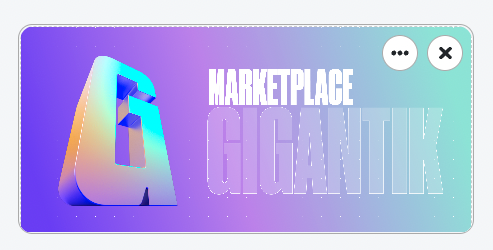
Hero images are large banner images that span across the top of your site. Hero images are prominently placed to give your users a first impression of your site and what you're offering.
Add a Hero Image
- Go to Marketplace > Content.
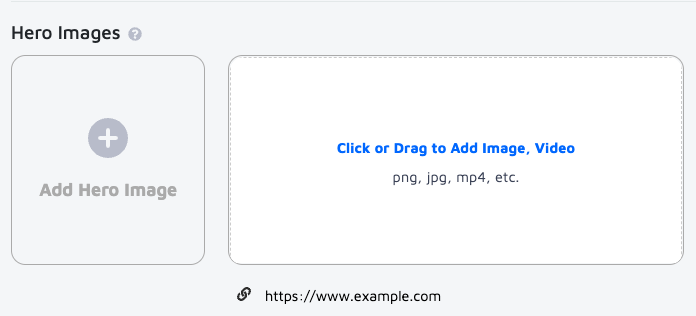
- Click Add Hero Image to upload an image or video.
- Optional: Enter a URL to serve as a hyperlink to a specific page when a user clicks on the image.
- Click Save.
Edit your Hero Image
You can edit and add some additional options to your hero image.
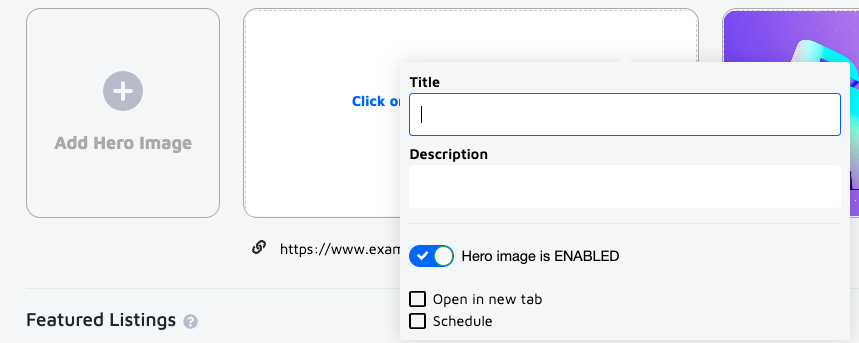
To edit your hero image, click the ellipses in the top right of the image for the following options:
- Enter a Title and Description to add as an overlay for the image.
- Enable or Disable the image
- If you added an URL to the image, you can choose to open the link in a new tab on click.
- Set a schedule for your hero image to display on your home page.
Featured Listings

The Featured Listings section allows you to highlight individual listings or packs on your landing page.
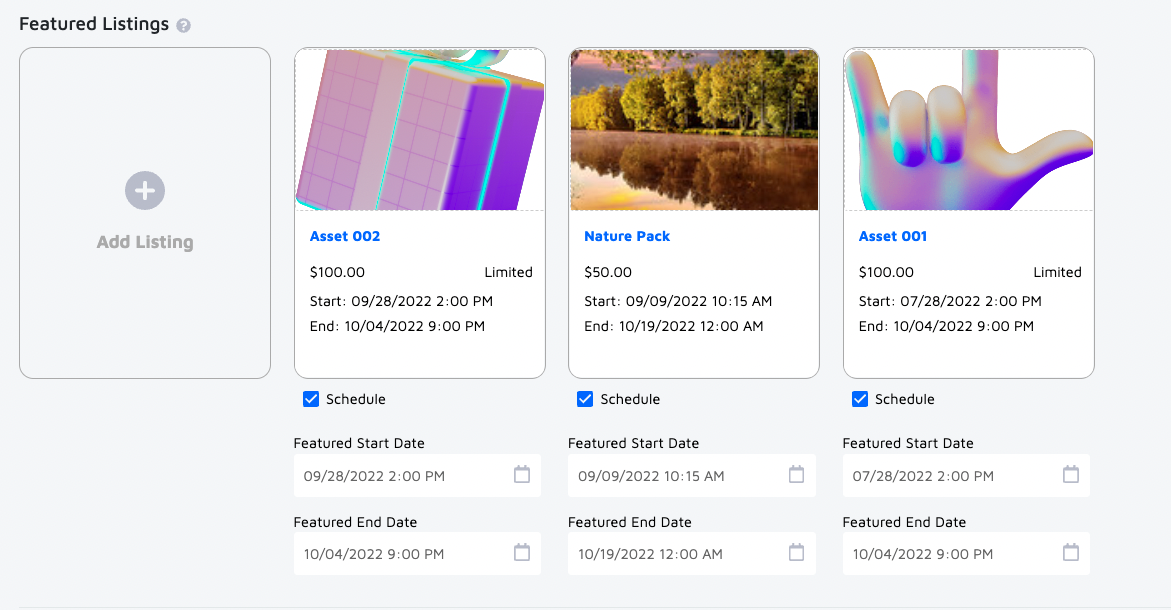
Add Featured Listings
- Go to Marketplace > Content.
- Click Add Listing to bring up the Select featured listings window.
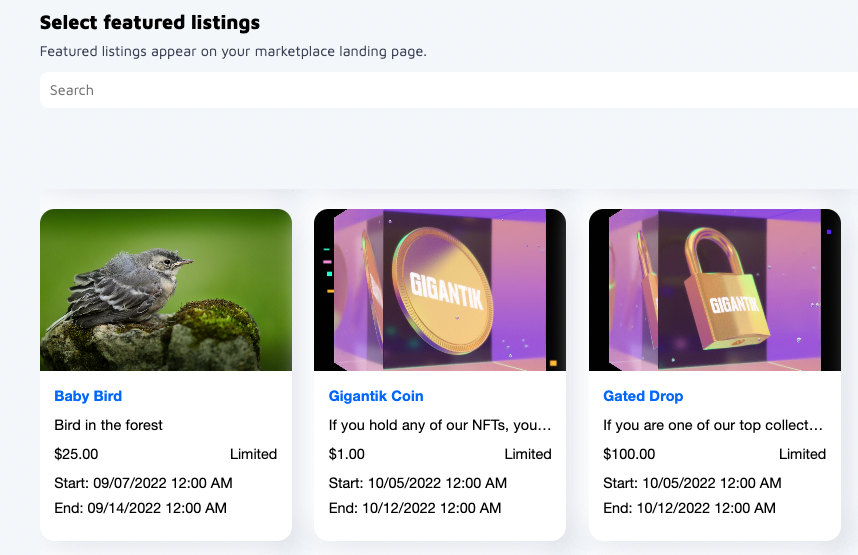
- Select the listings you wish to add and click the Add button. You can also search for a listing by name.
- Optional: Click the Schedule checkbox and enter a start and end date for your listing to appear on your landing page.
- Click Save.
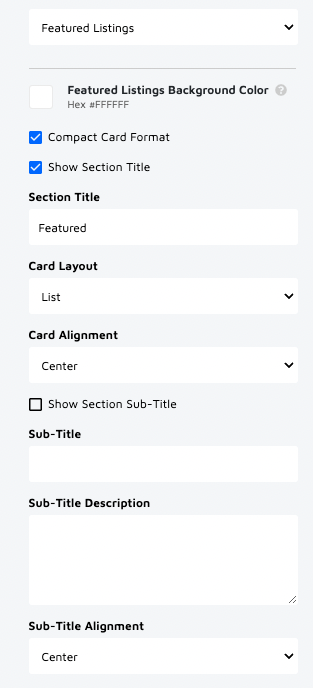
Featured Listing Settings
You can edit the featured listing settings from Marketplace > Theme and selecting Featured Listings from the Marketplace Settings dropdown list.
Badges

Badges are small images that you can upload to associate with individual listings or packs. You can also use badges to categorize and identify listings and use them in search filters.
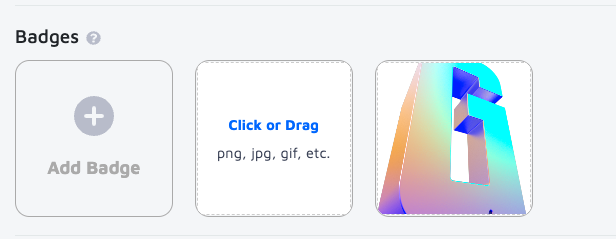
Add Badge
- Go to Marketplace > Content.
- Click Add Badge.
- Upload or drag an image file from your computer.
- Click Save.
Default Pack Video

You can add default Pack Reveal and Pack Background videos to select when creating a pack.

Add Default Pack Videos
- Go to Marketplace > Content.
- Click Add Video in the Pack Reveal Video or Pack Background Video box.
- Upload or drag a video file from your computer.
- Optional: Select the Show Edition Number on Pack Reveal checkbox to display the edition numbers for listings when users open a pack.
- Click Save.
Remove an Image or Video
To remove an image or video, click the X in the top right of the image/video and click Save.
Updated 10 months ago
