
Challenges
Specify NFTs to include in a Challenge and motivate collectors with opportunities to earn exclusive rewards.

Overview
With Challenges, a target can be set for collectors to collect certain listings to qualify for a specific reward. Challenges are a great way to engage collectors and gamify your drops.
How Challenges Work
- The CMS Creator/Admin enables Challenges.
- Challenges are then set up inside the CMS.
- Collectors can then view active challenges on their account page.
- Once a Challenge is over, a CSV is downloadable within the CMS. The CSV includes the winners’ wallet addresses to distribute the rewards.
Create a Challenge
Creating a Challenge consists of the following steps:
- Enter the Challenge Details
- Enter the Reward and Requirement Details
- Select Required NFTs
- Create and Launch the Challenge
Step 1: Enter Challenge Details
- Go to Utility > Challenges and click New Challenge.
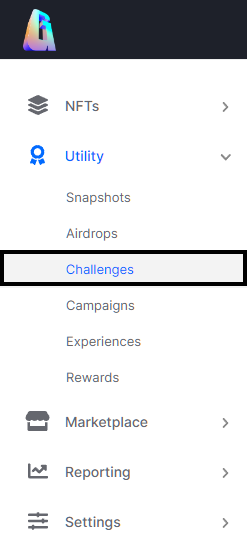
The Challenge Utility Location in the CMS
- Complete the Challenge Name and Challenge Description fields.
- Click or Drag to Add image to upload a supported file type from your computer in the image box to represent the Challenge.
- Complete the date fields. Note: All dates default to midnight of the following day, and the time is localized to your timezone based on your browser’s settings.
Publish Date: The date the Challenge is visible on the collector's account (e.g. "https://mydomain.com/myaccount#challenges")
Start: The date the Challenge begins
End: The date the Challenge ends
Timeless: Check this box if the Challenge should run indefinitely - Select one of the following Challenge Rules:
- Collector has all selected Listings to win.
- Collector has some of the selected Listings to win. For example, collectors will need to own the number of the selected listings determined.
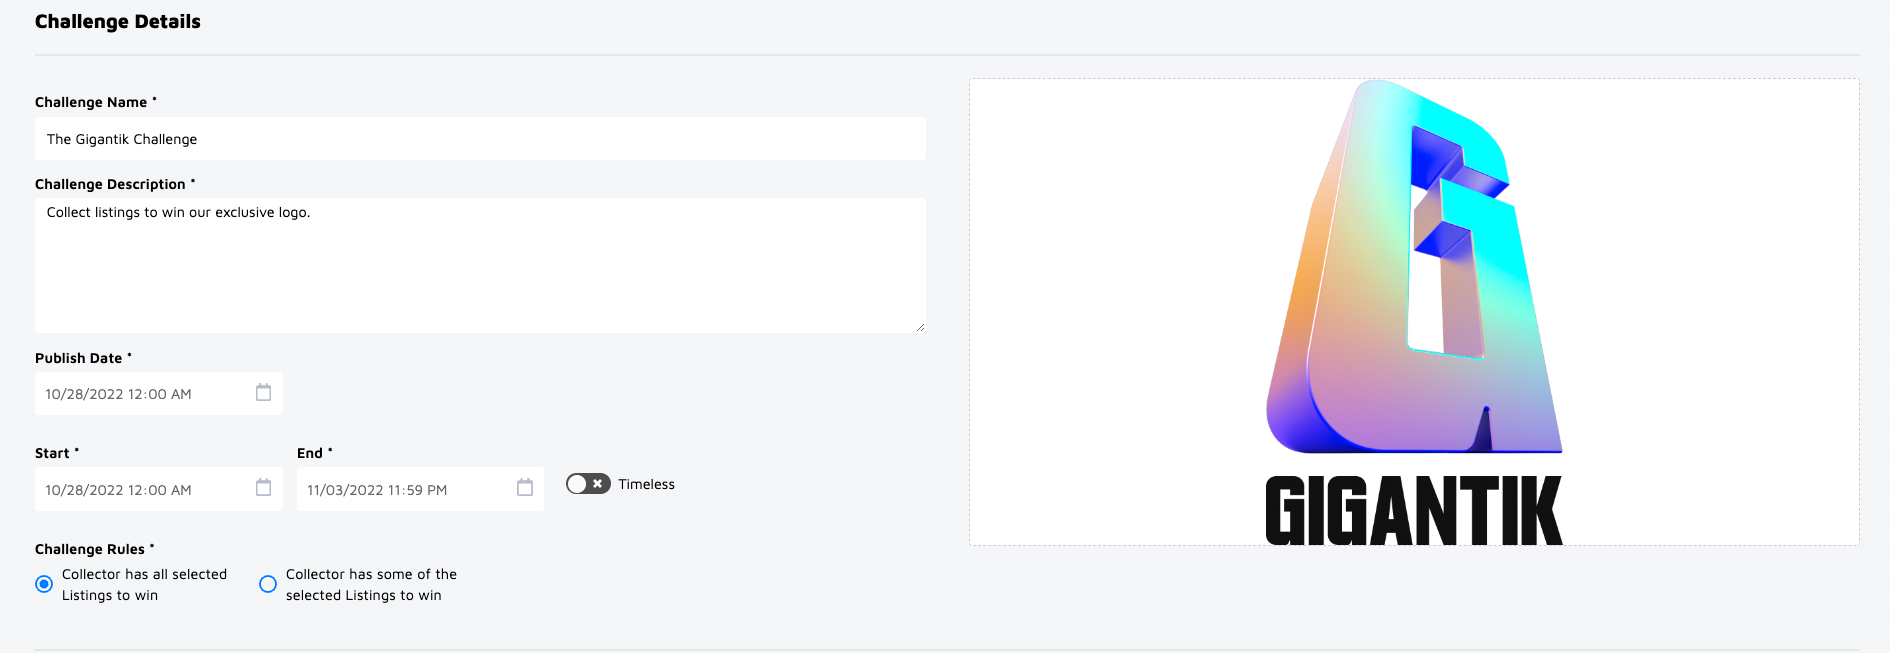
An Example Challenge
Step 2: Enter Reward and Requirement Details
Enter a Reward Title, Reward Description, and a Requirement Summary for the Challenge reward.
- Reward Title - The title the collector will receive after completing the challenge.
- Reward Description - This should describe the reward collectors will receive.
- Requirement Summary - Details for what is required to complete the challenge.
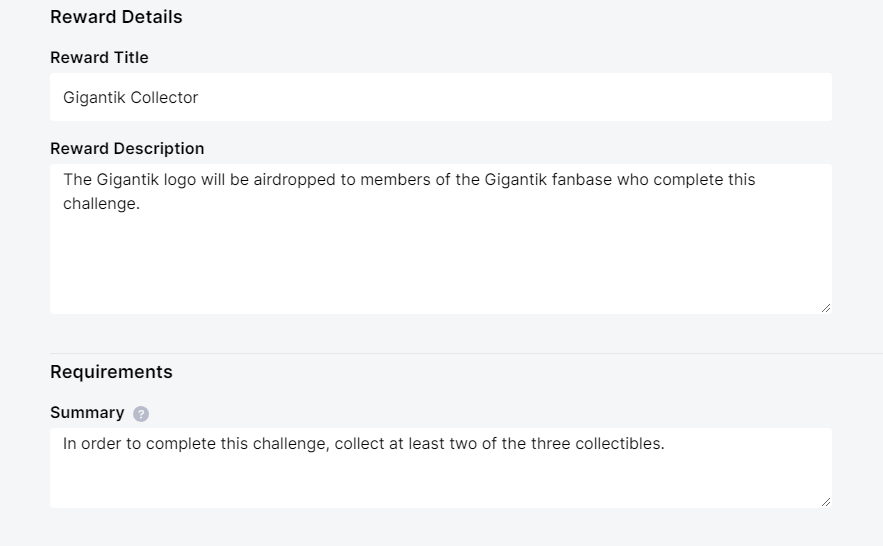
An Example Reward Description and Requirement Summary
Step 3: Choose Listings for the Challenge
In this section, select the listings to include in the Challenge. Listings can be filtered by Series, Badges, or Traits.
The Series filter is set to ALL SERIES by default.

Choosing Listings for the Challenge
Once the listings have been selected, click the View Selected button to review the listings that were chosen. If additional listings are desired, click the Select button again and proceed to add additional listings.
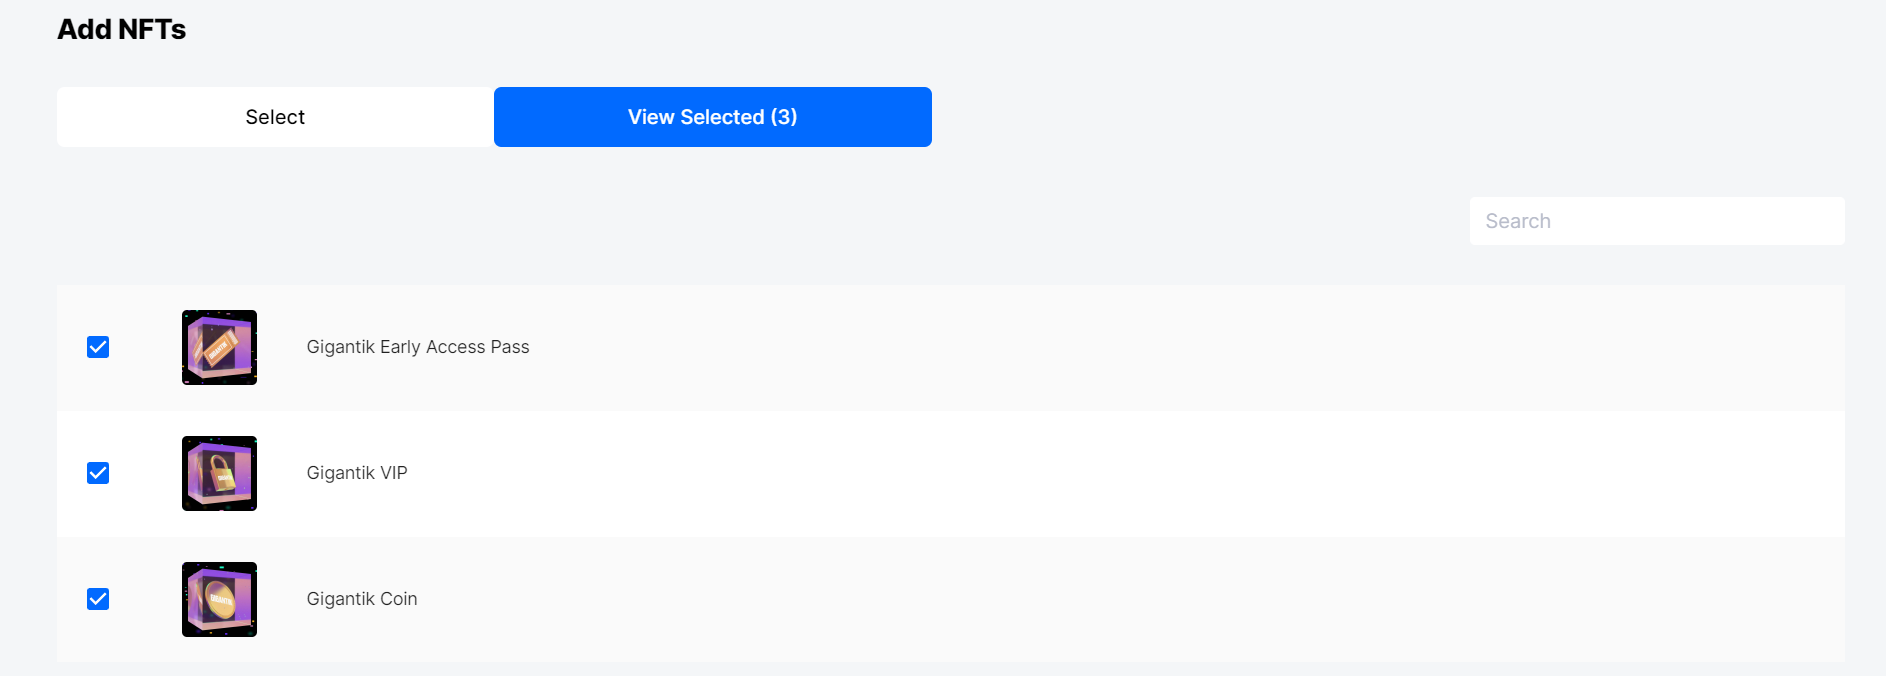
Reviewing the Selected Listings for the Challenge
Step 4: Create and Launch your Challenge
Once finished setting up the challenge, it’s time to create and launch it! To create the Challenge, click the Create button. Next, a pop-up will appear asking if you’re sure you want to create this Challenge.
Once all the information is confirmed to be accurate, click Create in the pop-up menu. Challenges begin on the Start date that was defined.
Editing your Challenge
It's possible to edit the details of your Challenge as long as it has not yet ended. To view and edit a Challenge, go to Utility > Challenges and click on the pencil icon next to the Challenge desired to be changed.
Rewarding Challenge Winners
To reward Challenge winners, a CSV that includes the winners’ wallet addresses is downloadable from the CMS. Download that file and proceed to Airdrop the Challenge reward. When the Challenge ends, Gigantik freezes the CSV so no new wallets are added to the file. The CSV file will have the same name as your Challenge.
To download the CSV, go to Utility > Challenges and click Download CSV from the Winners column. The CSV includes the following information:
| Field | Description |
|---|---|
| wallet_id | The wallet addresses of the Challenge winners. |
Updated 10 months ago