
Groups
Group NFTs that aren’t part of the same collection.

Overview
Groups allow you to organize NFTs that are from different collections. You can use groups to promote specific NFTs from various collections on your homepage.
## Step 1: Enter Group Details
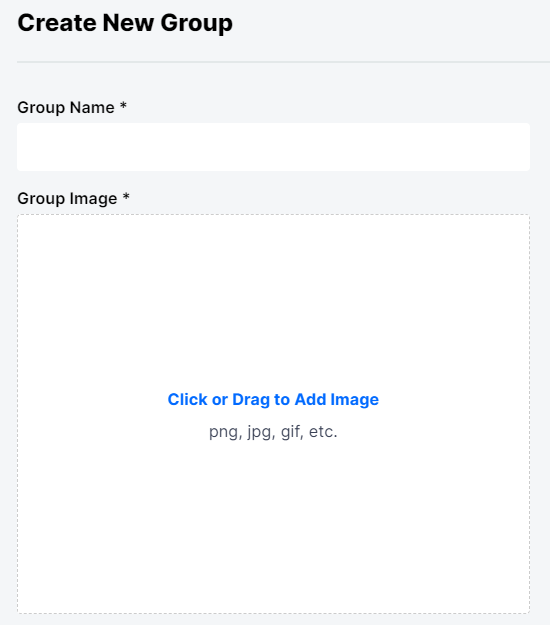
A Blank New Group
- From the NFTs menu, select Groups and click the Create New button.
- Enter a Group Name.
- To add a Group Image, click the Image / Video / 3D Model box to upload a supported file type from your computer. You can also add a file by dragging and dropping it into the area.
Step 2: Add NFTs & Packs

Next, select the NFTs or Packs that you want to add to the Group. When adding NFTs, you can filter by a series, traits, or badges. Additionally, you can search for a particular NFT or Pack using the search bar. To view the NFTs or Packs you selected, click the View Selected button.
Step 3: Create Group
Once you’ve set up your Group details, it’s time to create! First, click the Create button to bring up the dialog pop-up asking if you’re sure you want to create the Group. Then, once you’ve checked that all your information is accurate, click Create in the pop-up menu.
Edit Group
To edit your Group, go to NFTs > Groups and select the Group you want to edit.
Show Group on your Homepage
Note
For your Group to display on your homepage, you must first configure Groups in the Marketplace Settings.

To display your Group on your homepage, go to NFTs > Groups and select the Show on Homepage checkbox.
Updated 10 months ago